Languages & translation
Localization lets one design serve content in several languages.
Add languages
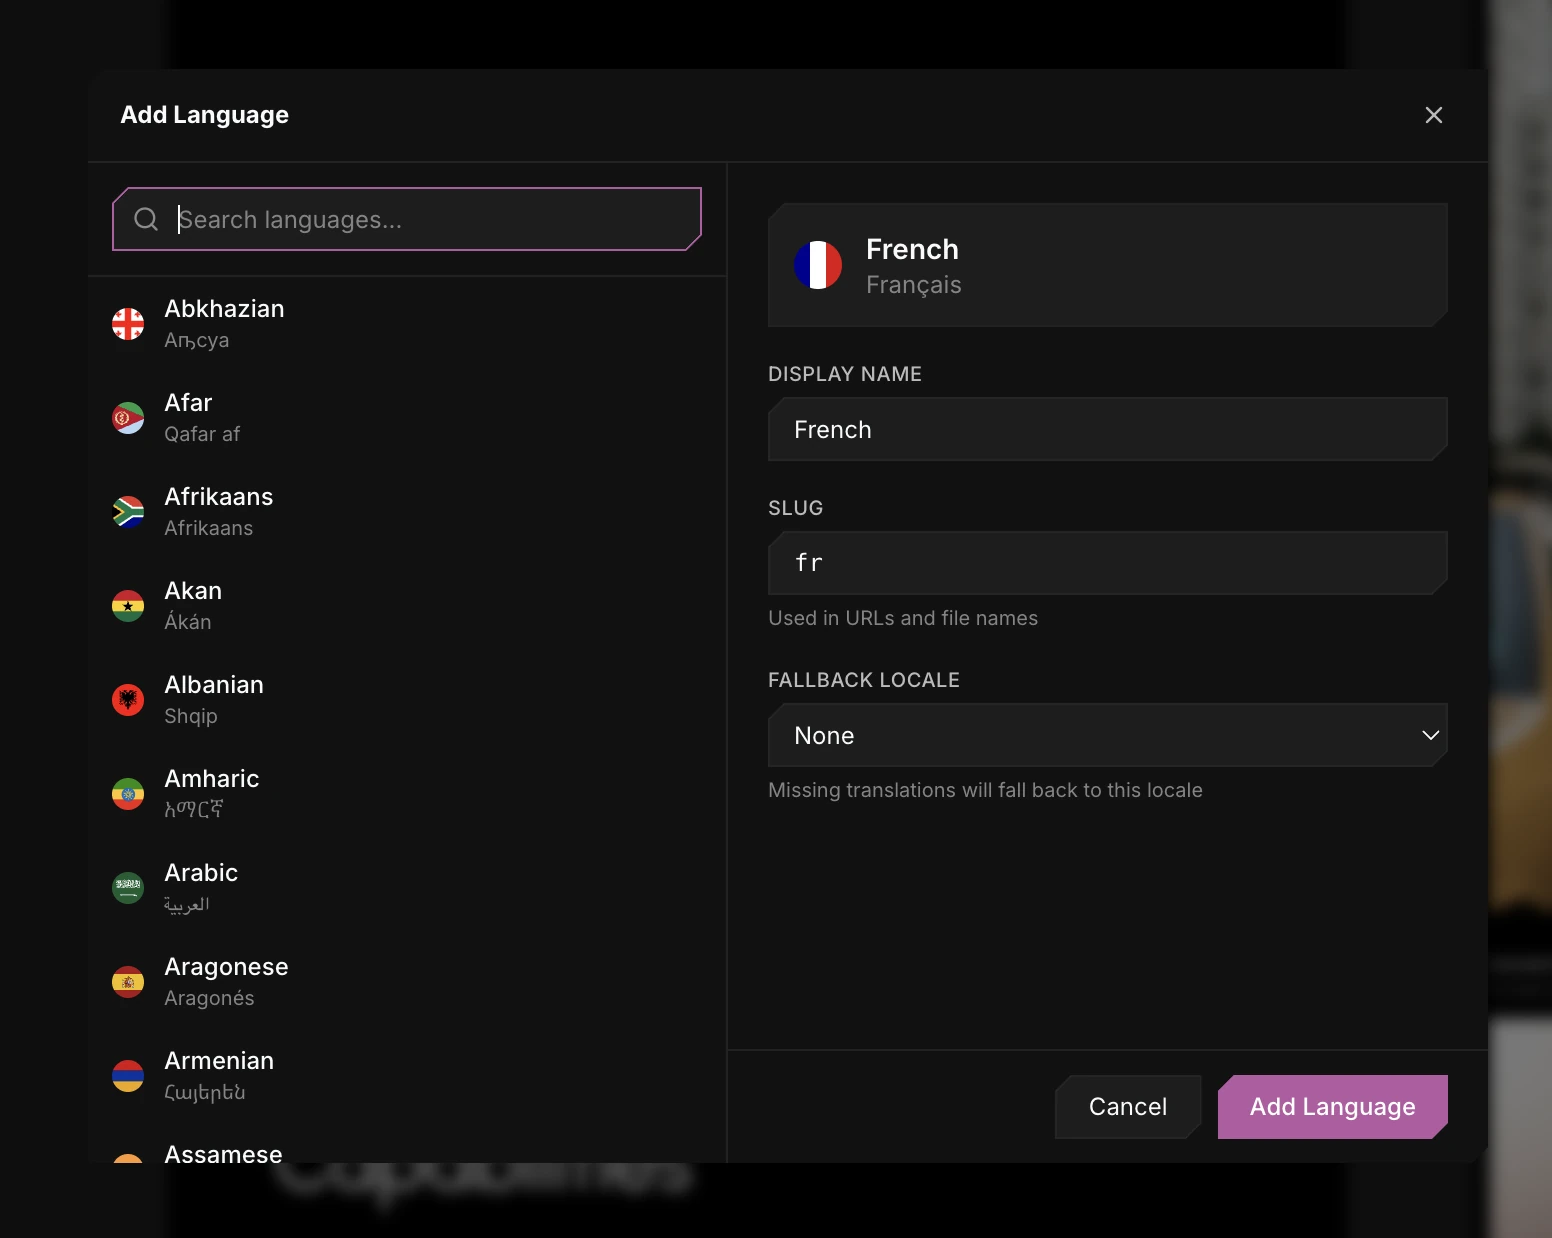
Open the Localization panel and add a language. Search the full locale list, then set how it behaves:
- Display name - what the language is called in your switcher.
- Slug - the short code used in URLs and file names (
fr,de-at). - Fallback locale - where a page falls back when a translation is missing. Leave it None to show the default locale instead.
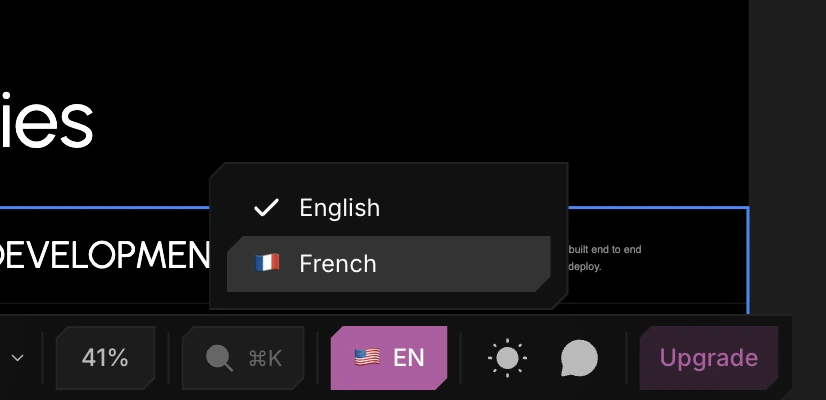
Set one locale as the default. When more than one locale exists, a locale switcher appears in the bottom toolbar.
Localize a property
Any property can react to the active locale. Right-click a control's label and choose Localize - the property is bound to the built-in Locale variable, and you pick what it becomes per language.
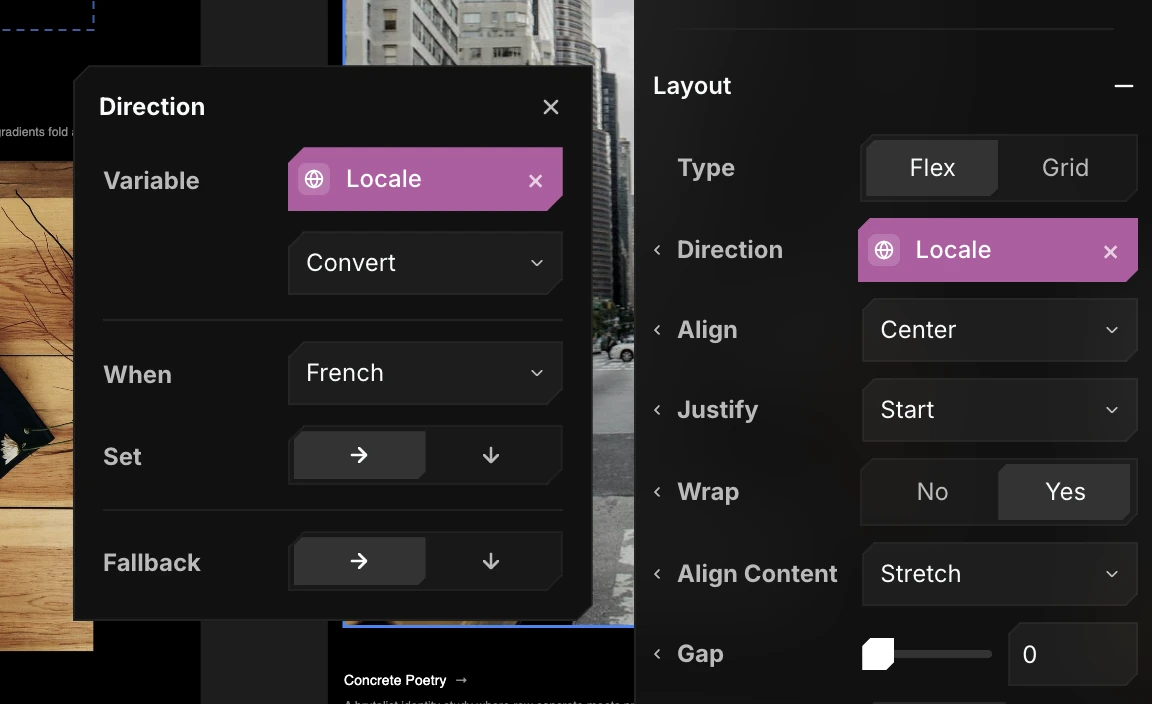
- Variable - always Locale, plus how the value converts.
- When - the language this rule applies to.
- Set - the value that locale gets. Here, an RTL-friendly direction for French.
- Fallback - what every other locale uses.
That is how one design serves layouts that differ by language - flipping a flex direction, swapping an image, widening a container for a longer word - without duplicating the page.
Translate mode
Pick another language from the flag chip in the bottom toolbar and the canvas enters translate mode. Select any text element and every locale's version opens side by side - the default on top, each added language beneath it.
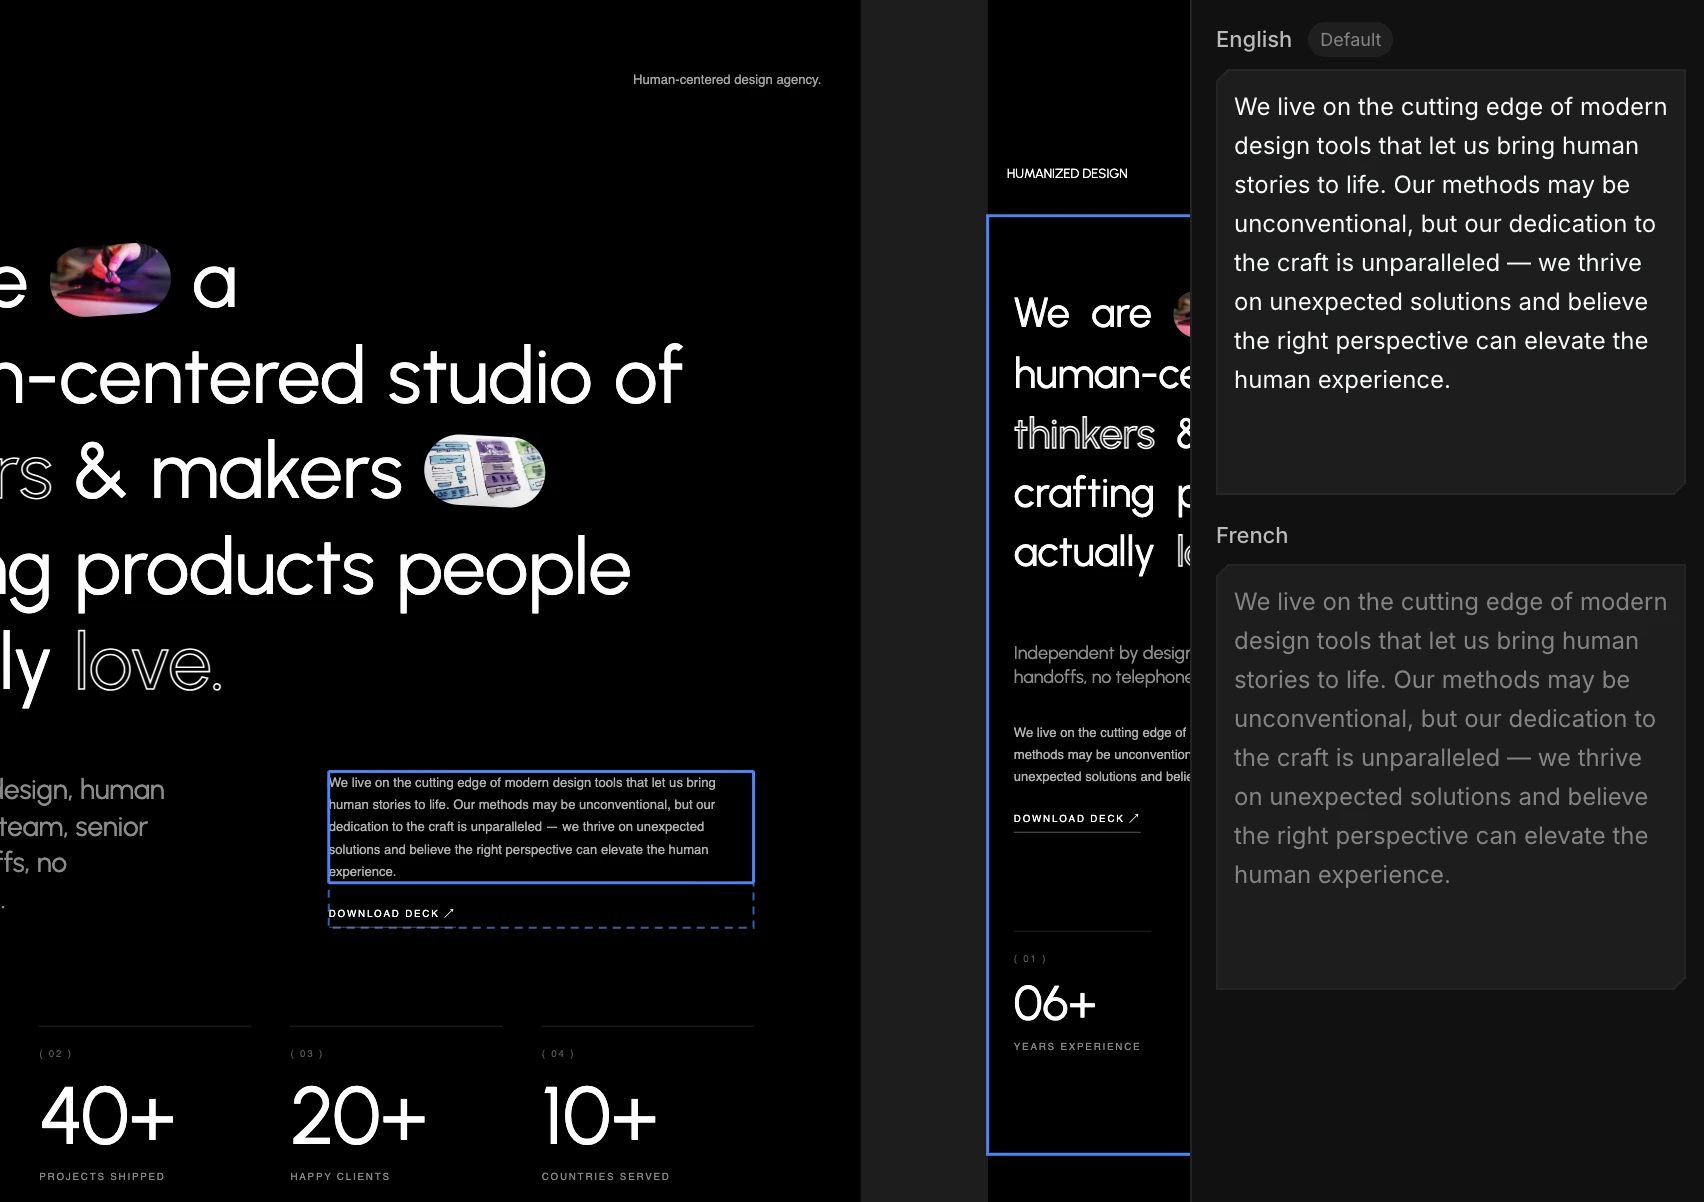
Edit them all in one place: type each translation, move to the next element, and the canvas keeps showing the language you switched to so you can see the layout hold. The original text stays in the default locale's file; each translation lives in its own locale file.
Manage Translations
Editing on the canvas is fine for a line here and there. For a whole site, open Manage Translations from the Localization panel - every translatable string in the project, grouped by page, with the default language on the left and the target language's field on the right.
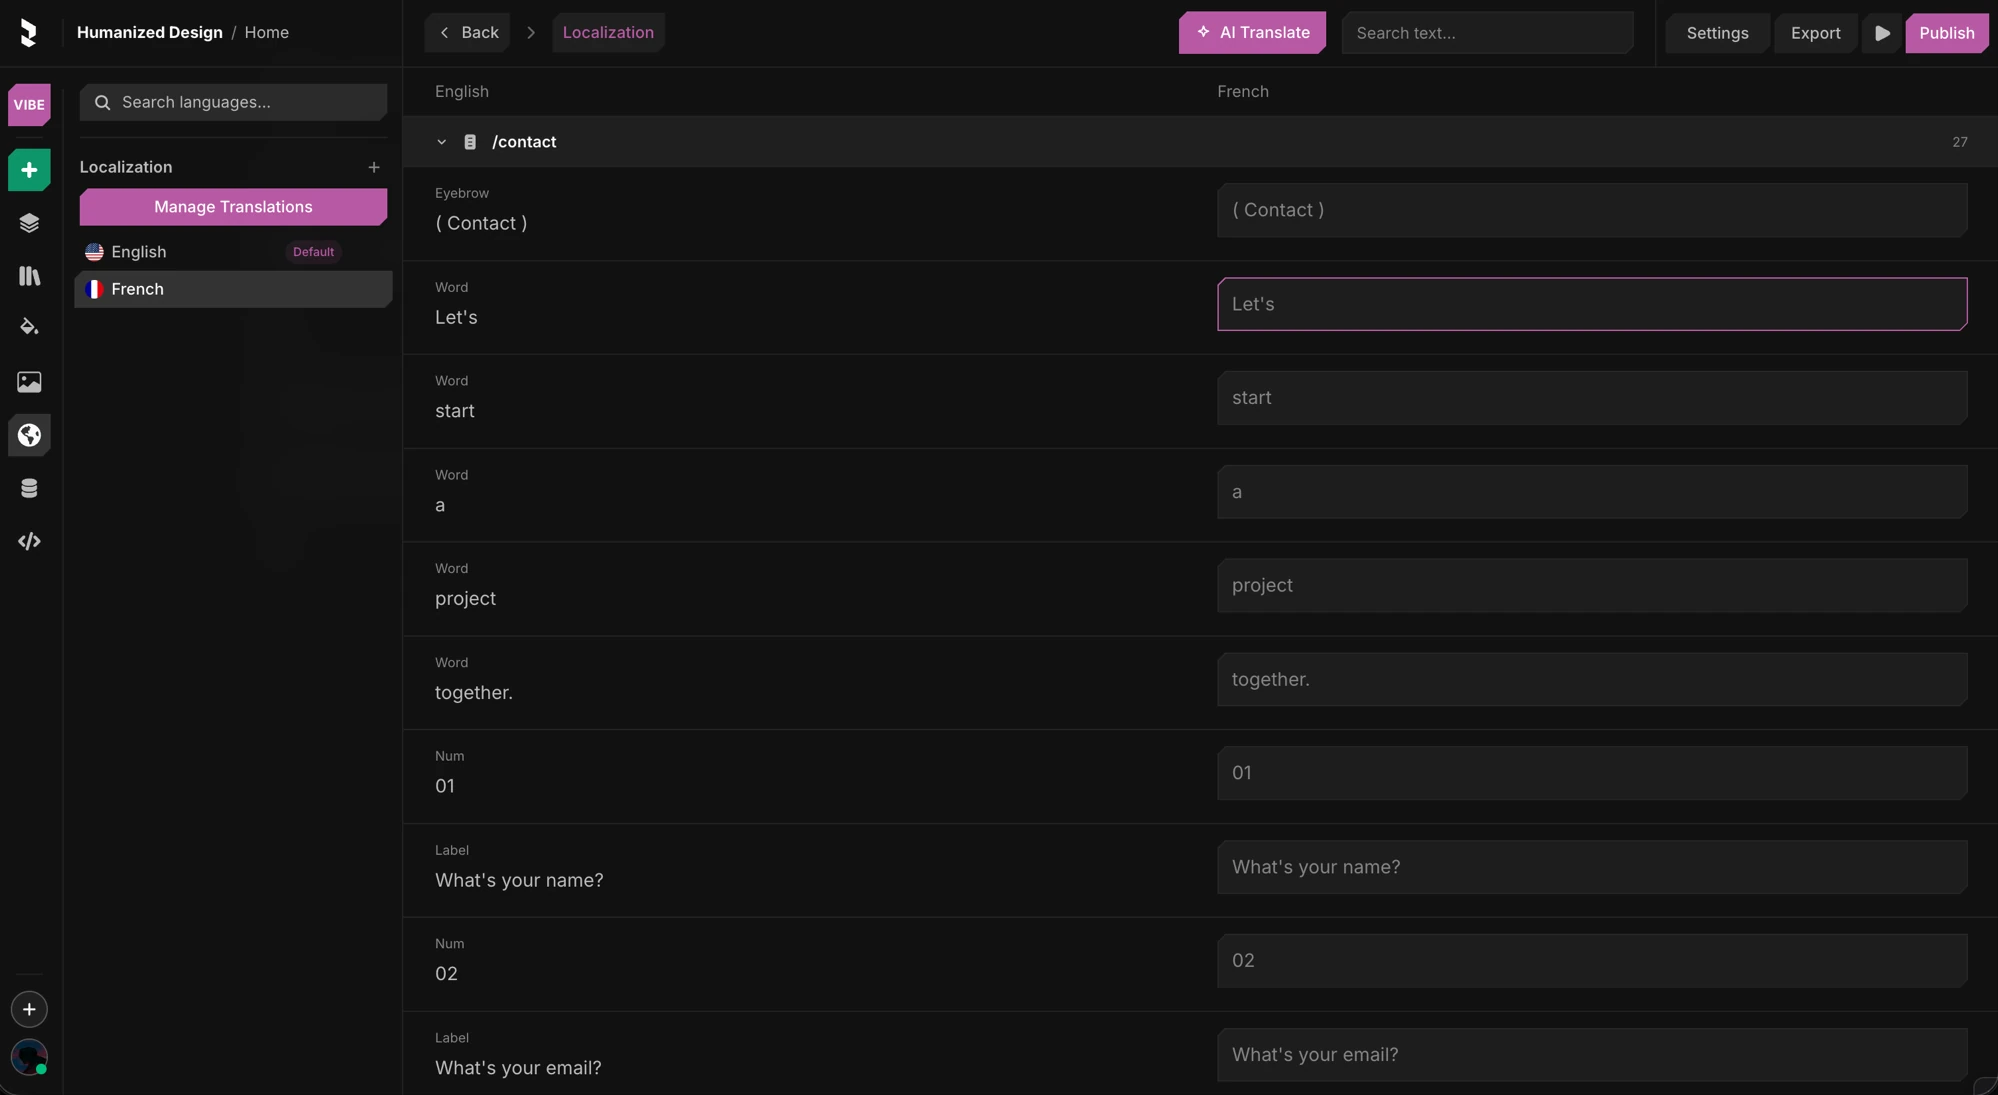
- Pick a language in the sidebar to work through it end to end.
- Search to jump to a specific string instead of scrolling.
- Every string is listed with its role - eyebrow, word, label, number - so nothing gets missed, and each page shows how many strings it holds.
- AI Translate fills the whole language in one pass. It translates every empty field for that locale, then you review and edit anything you want to word differently.
In production
Translations ship with next-intl in production. The right locale's content renders for each visitor.